
2017 started with an intense deadline for shop116 – building our ‘Cutting Edge’ Table for the 2017 Toronto Interior Design Show. Here is a quick look at how the table came together.
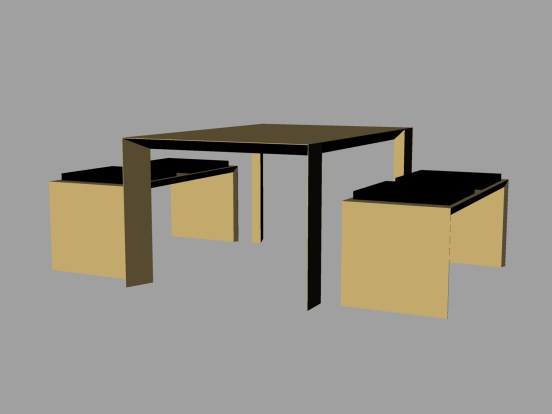
original concept rendering
shop116 took a different approach from some other reclaimed furniture designers. We decided to make the table shape simple and precise, accenting the knots and interesting figure of the wood. By removing the surface patina, we exposed the underlying beauty of aged pine.
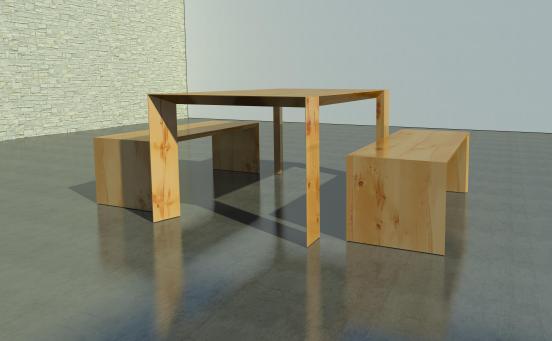
final rendering with texture mapping matching the actual pine boards
The pine boards used to make this table were acquired (repurposed) and cleared of all fasteners from their previous uses.
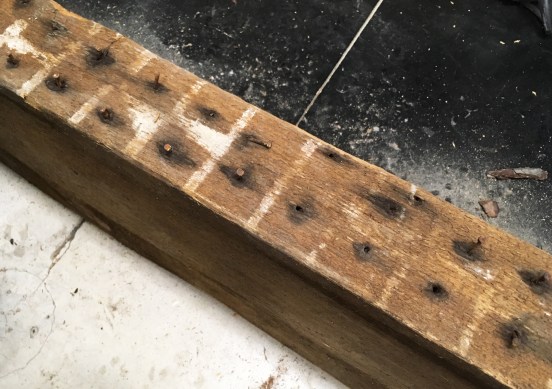
board with nails
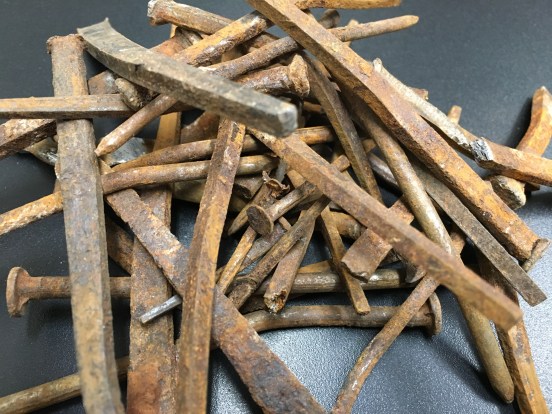
removed nails
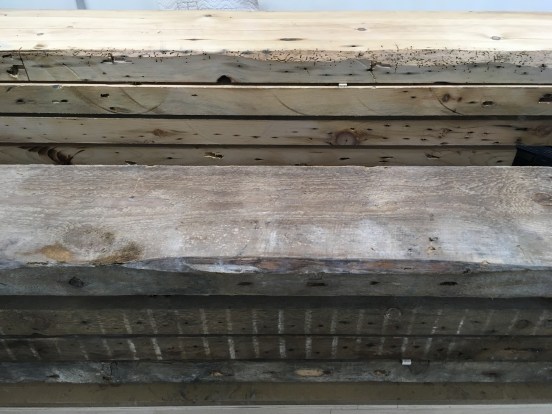
pine boards in original state (front), rough planed and cut (rear)
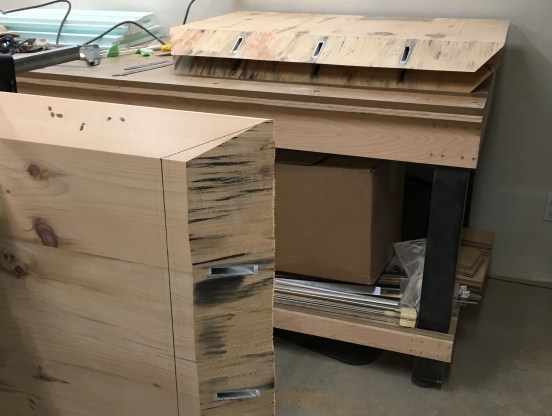
After dressing, the boards were cut to width. The boards were glued together using a double dado joint and splines. Aluminum channels were inset into the end of each board joint which would later be used to connect the table extensions to the main table top.
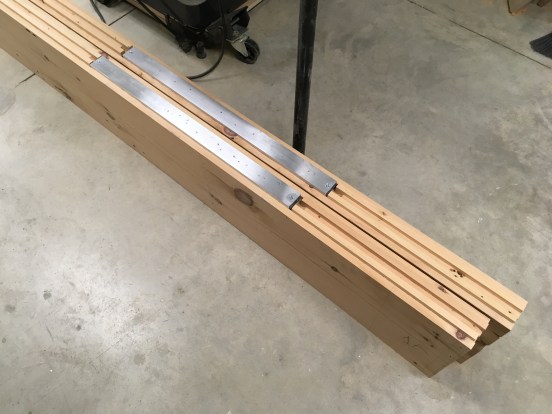
double dado joint and splines with inset aluminum channels (prior to gluing)
Resin was applied to all the holes, knots, and splits in the wood.
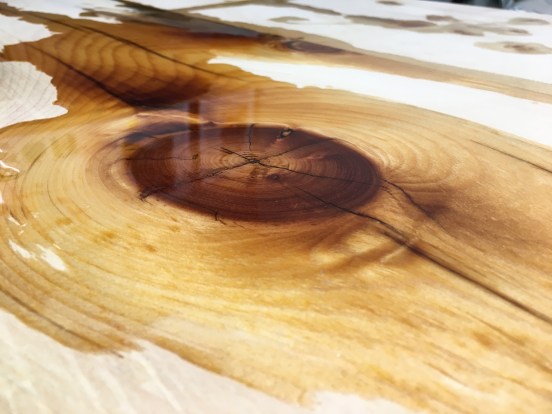
resin covered knot
The laser-cut walnut shop116 logo was inset into the underside of the table and encased in resin. All the excess resin was sanded to prepare the table top for final dressing with a drum sander.

rough sanded table top
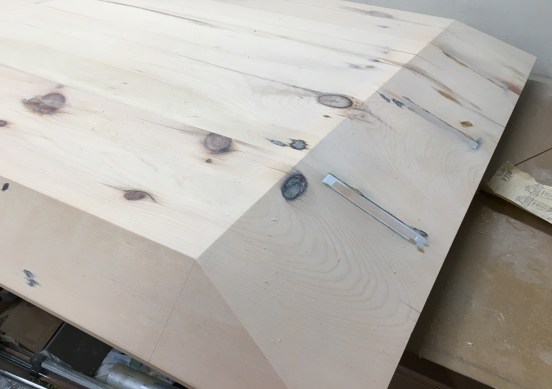
shop116 used a router and jig to precisely chamfer the table sides, leaving a 3/16″ vertical edge.
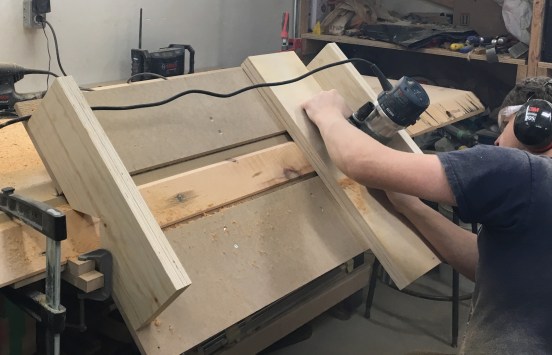
routing the table side
The two extensions were cut and the table took its final form. A reciprocating saw was used to cut through the wood and aluminum simultaneously.
cutting the extensions
The jig was reconfigured for the shallower angle, and the ends were cleaned up. A metal milling bit was used to rout flush the wood and aluminum simultaneously.
routed table end
The table legs were planed to achieve the angled look, then trimmed to size. The table top was routed to receive the legs. Each leg was carefully fitted and glued to the table top.

routing a joint for the table leg
The table was sanded, cleaned, then oiled to be ready for its debut at the 2017 Interior Design Show. If you missed us at the show, here is a picture of our table on display. Next on our list are the benches…
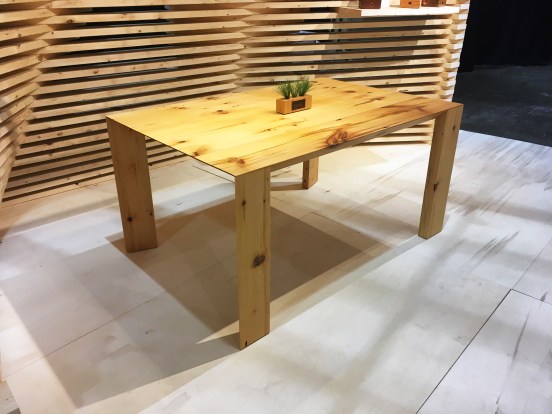
finished ‘Cutting Edge’ Table
![]()

One thought on “2017 Toronto Interior Design Show – making of the ‘Cutting Edge’ Table”